

Getting started
In this tutorial , we’ll demonstrate how to get started with VR development using an Oculus Quest/Quest 2 and the free personal edition of Unity: from unlocking developer mode on your device, to setting up Quest controllers, to creating your first VR app and using XR Interaction Toolkit to add basic interactivity to your VR applications without having to code the interactions from scratch.
Also, to develop for Oculus 2 you’ll need a Facebook account. To develop for Oculus Quest you will need an Oculus account or a Facebook account. You’ll also need a Unity account. I am using the personal edition which is free.
Setting Up your Quest I/II for Development
- Oculus developer account
- Install Oculus Mobile app and unlock developer mode
- Install Oculus Quest PC app and setup Oculus Link
Oculus Developer Account
Developing for Oculus devices require that you Sign up to be an Oculus developer. You can either sign up with a Facebook account, merge an existing Oculus account with your Facebook account or create an unmerged Oculus Developer Account. Sign up options are a little complicated but essentially Facebook is pushing everyone to use a Facebook account to access your Oculus Quest/Quest 2 devices. A few things to take note of:
- Quest 2 devices require a Facebook account or a test user account.
- Facebook is shutting down Oculus accounts starting January 1, 2023.
- Quest 1 devices can use existing Oculus Developer Accounts or new unmerged Oculus Developer Accounts, at least until January 1, 2023.
Oculus developer accounts will not be able to test social, new and updated feautres on older Oculus devices, or log into newer devices like Quest 2 without a Facebook account or test user account.
Oculus Test User accounts are basically a fake Facebook/Oculus account associated with your Oculus developer account meant to allow Oculus development and testing without a personal Facebook account. Test User accounts can do almost everything real Facebook accounts can do except buy products from the Oculus store or friend real Facebook users. Also, if you’re logged into your headset with a personal account, you will need to factory reset your device to switch accounts.
After much deliberation I gave in and merged my existing Oculus Developer Account with my Facebook Account. Quest 2 will be my main VR development headset going forward and I wanted to be able to use my existing Quest purchases with my Quest 2 so there really wasn’t much choice in the matter.
Install Oculus Mobile app and Unlock developer mode
If you haven’t already done so, installing the Oculus mobile app on your phone from the Google Play Store or Apple App Store. The minimum OS requirements for phones to run the Oculus mobile app are: Apple iOS 10+ or Android 5.0+.
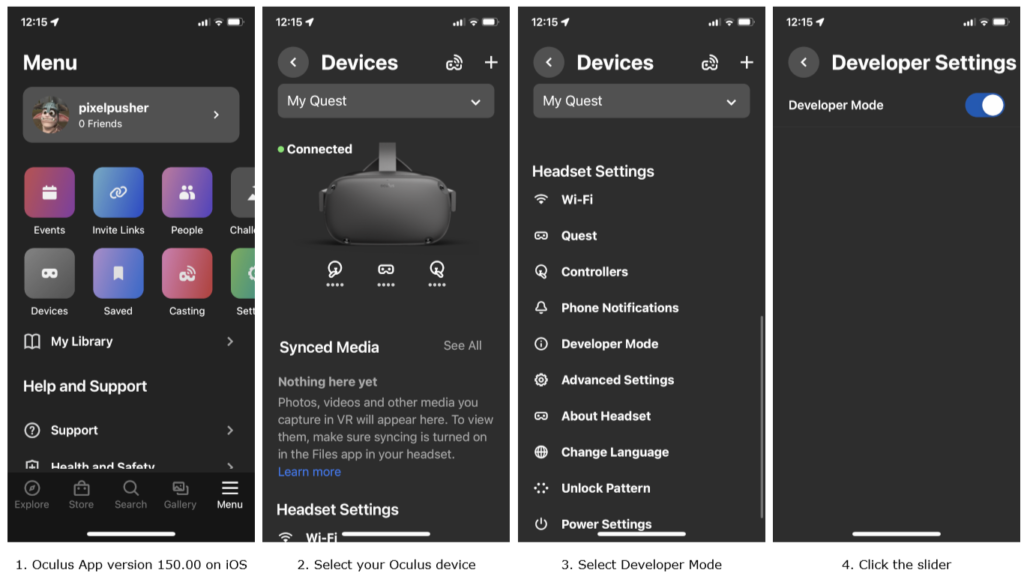
Next, unlock developer mode on our Oculus device.
- Launch the Oculus App on your phone.
- Select the Devices icon on the main screen .
- Select your correspondig device from the devices drop down list.
- Scroll down and select Developer Mode under Headset Settings
- Click on the slider to activate developer mode.
Install Oculus Quest PC app and Setup Oculus Link
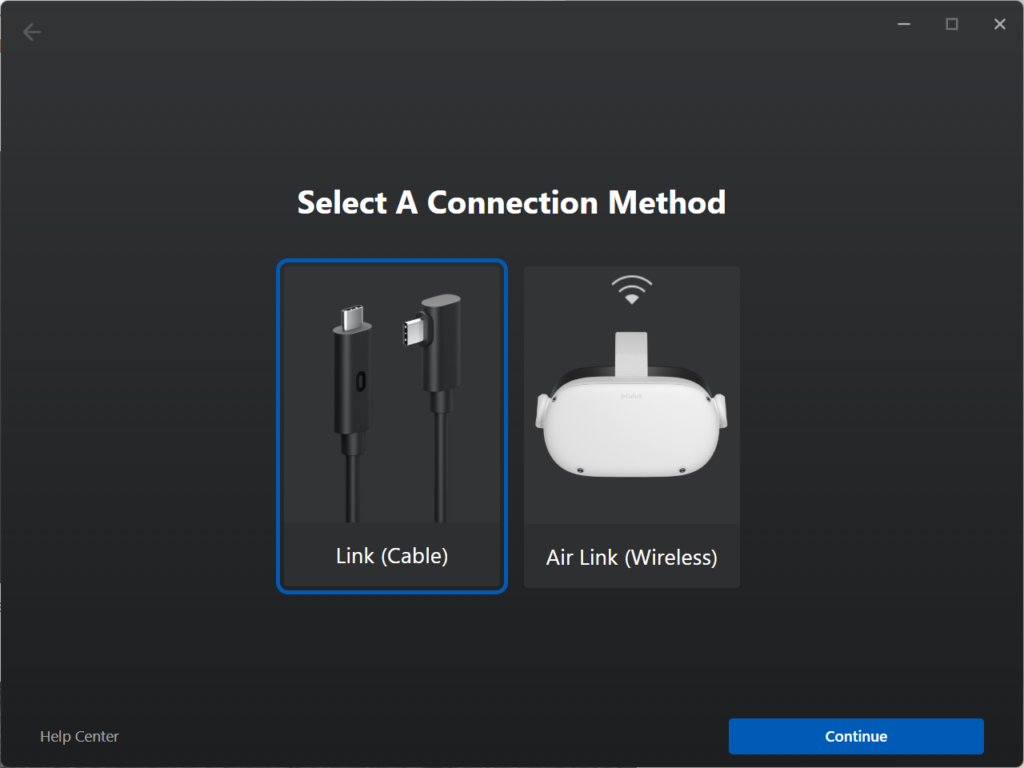
Oculus Link connects your headset to your computer via a high quality USB 3 cable. Oculus Air Link allows you to connect your headset to your computer using a secure Wi-Fi network.
With an Oculus link, users can connect their headset to their PCs and access a huge library of Rift content and PC VR Games. Developers can test run apps directly from within Unity editor rather than build and deploy to an Oculus device everytime a change is made. This will save a ton of development time as building and deploying are not quick operations.
Download and Install the Download Quest PC App.
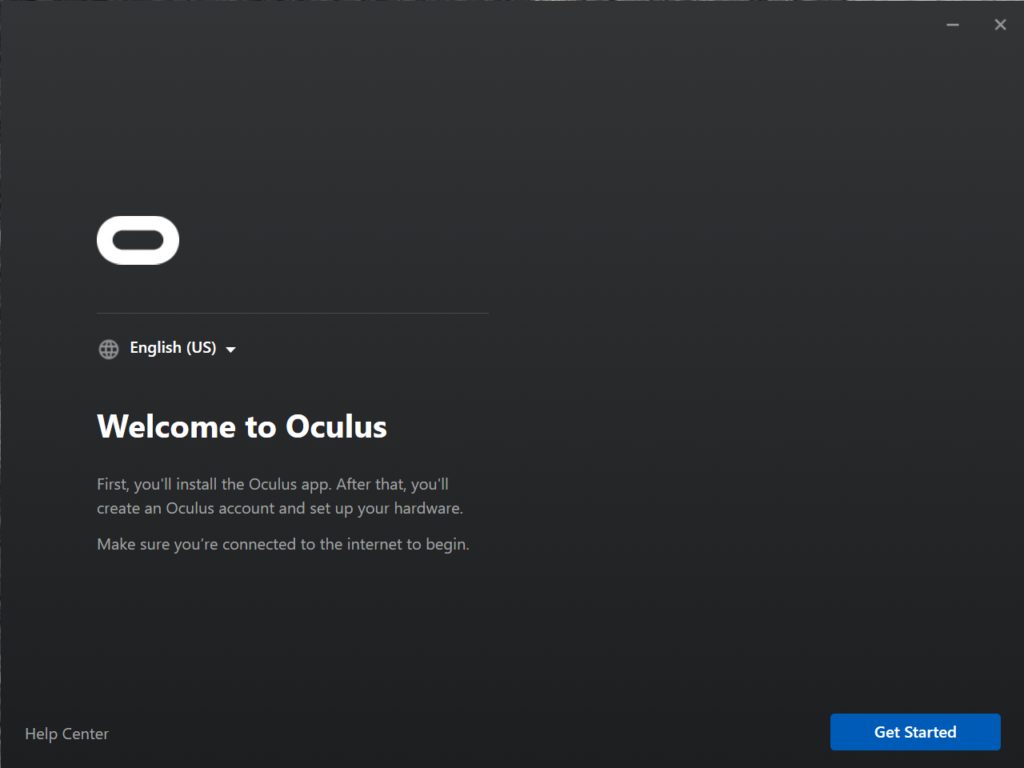
Installation is straightforward. Click Get Started and follow the on screen instructions. The Oculus App is a 5.12 GB download and requires 9.19 GB of storage space to install. It took a while to complete the installation on my desktop.

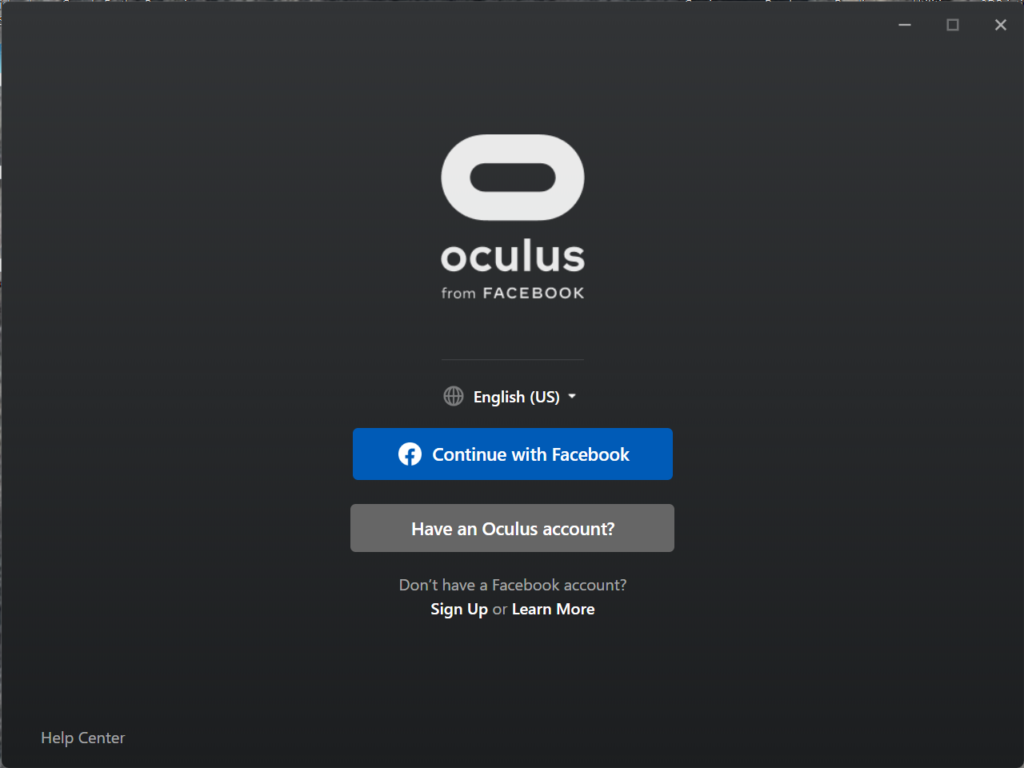
Once installation is completed click Next to sign in with an Oculus account or Facebook account.
Once the Oculus Quest PC app launches you may receive the following notificaiton if your headset is not plugged in.

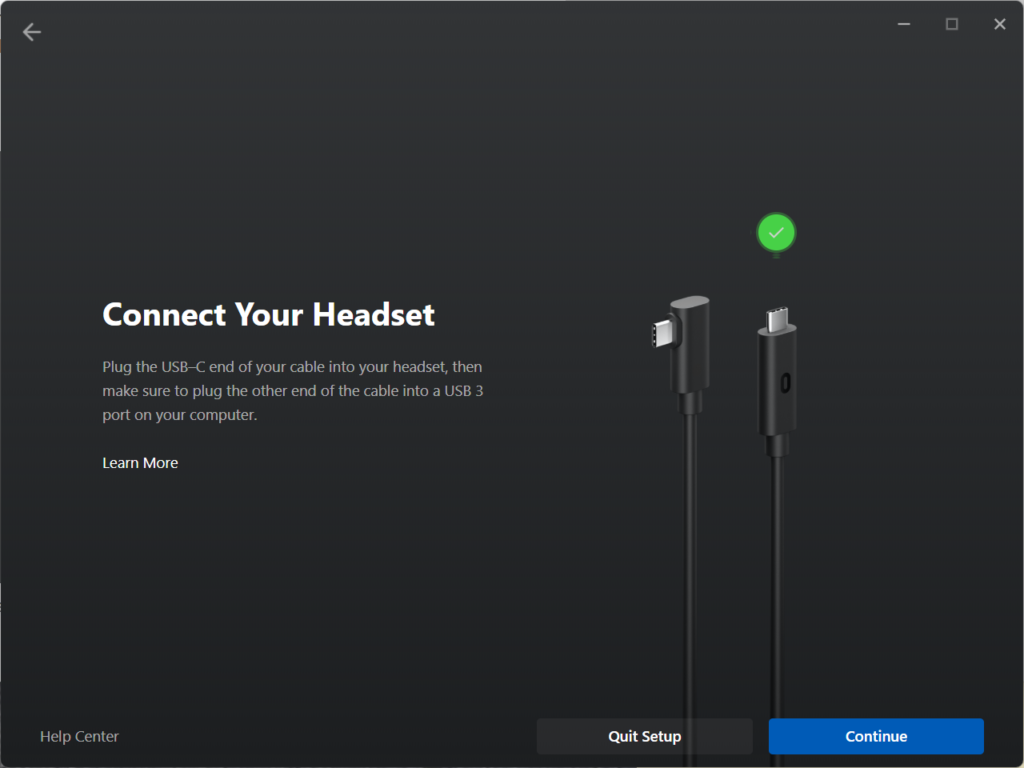
Go ahead and plug your Oculus Link cable into your headset and a USB 3 port on your computer.
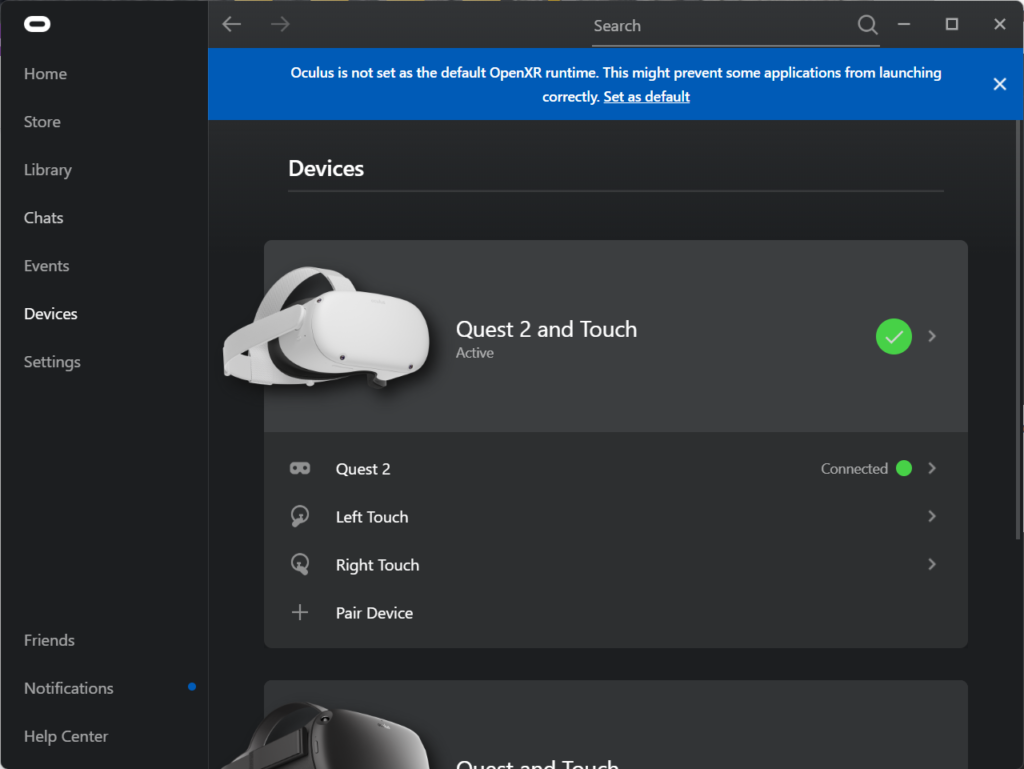
From the Oculus desktop app, select Devices from the left hand side menu.
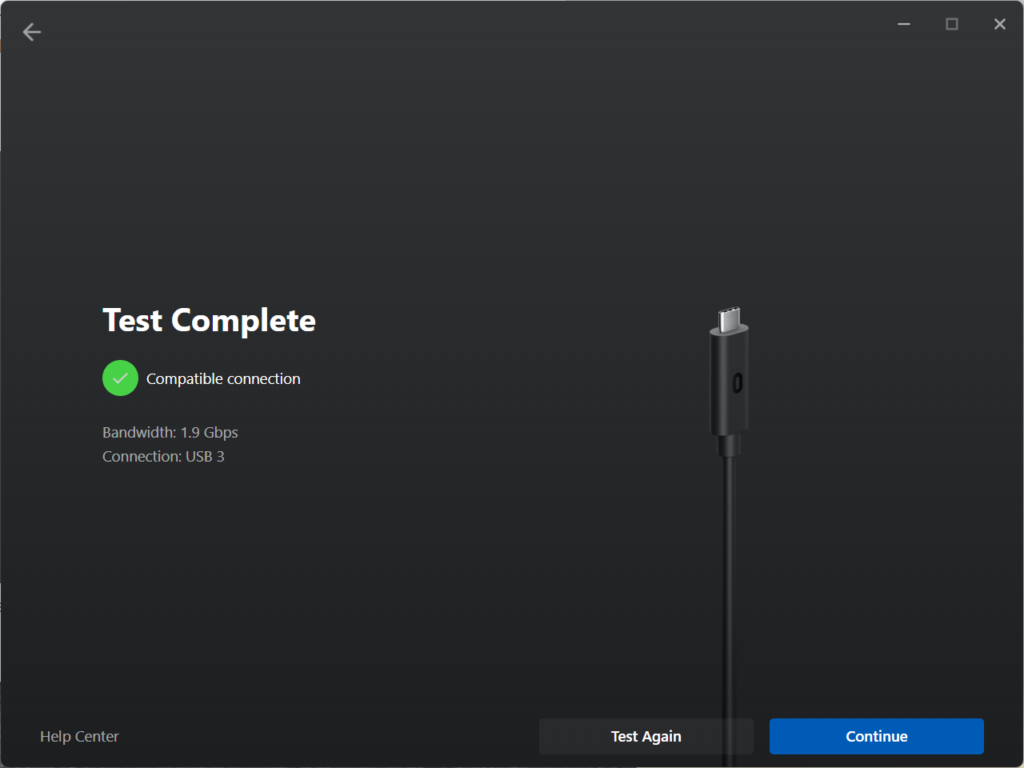
Test Oculus Cable Link
- Open the Oculus app on your PC
- Turn on your Quest or Quest 2 device
- Plug your USB 3 cable into a USB 3 port on your PC, and then plug the other end into your headset
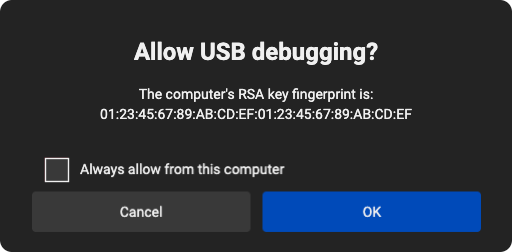
- A message displays in VR prompting you to Allow access to data. Select Deny. If you mistakenly ‘Allow’ the prompt, you must unplug your USB cable from the headset and plug it back in.
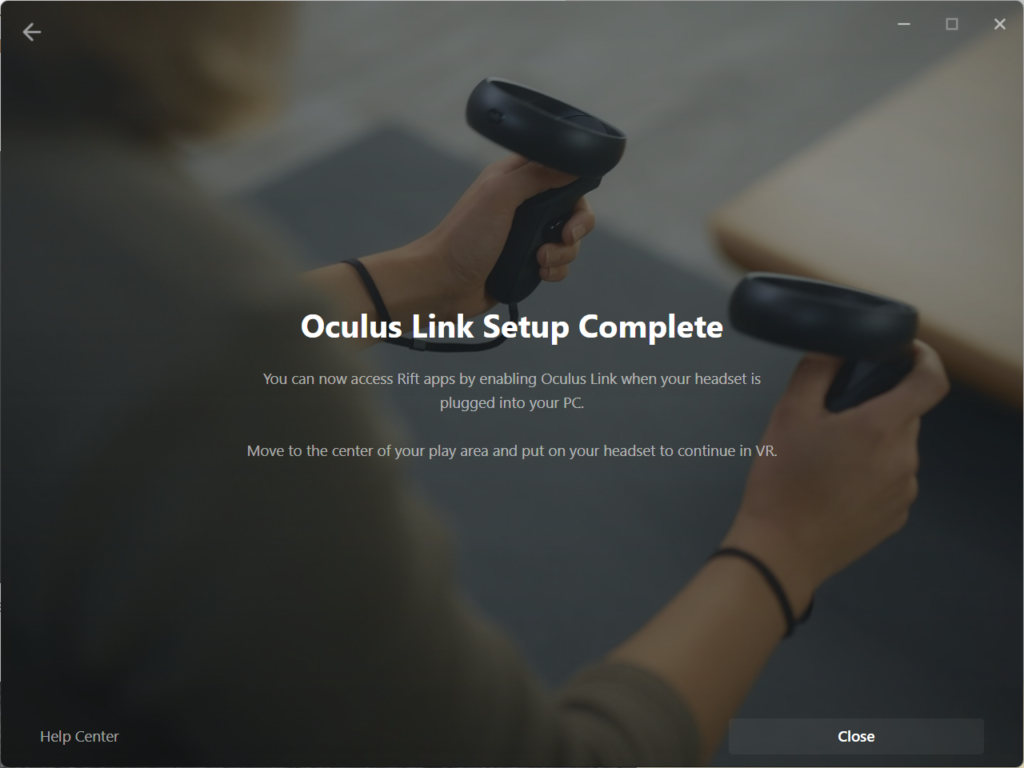
- When prompted to Enable Oculus Link, select Enable to begin remote rendering using Oculus Link.

Test Oculus Air Link
Air Link allows you to wirelessly connect your Quest 2 to your PC using a secure Wi-Fi network. For best performance on Link and Air Link, please use Windows 10. Windows 11 is not yet supported with our Oculus PC software.
- Put on your headset, then press on your right Touch controller to pull up your universal menu.
- Hover and click over the clock on the left side of the universal menu. When Quick Settings appears, select it to open the Quick Settings panel.
- Select Settings in the top right corner.
- Select Experimental.
- Select the toggle next to Air Link to enable the feature.
- Review the Air Link requirements, then select Continue. Once you are back to Quick Settings, click on the Air Link button on the left to start pairing.
- Find and select your PC in the Available PCs list then select Pair.
- A pairing code will show in VR. Remove your headset and confirm that the code you see on your computer matches the one you see in your headset.
- If you don’t see a pairing code, make sure that both your headset software and desktop app are on v34 or later.
- Click Confirm from your Oculus desktop app. Then put your headset back on.
- Select Launch to begin using Air Link.
After you pair for the first time, you can launch Air Link directly from the Quick Settings panel.
Turning off Air Link
- Put on your headset, then press on your right Touch controller to pull up your universal menu.
- Hover over the clock on the left side of the universal menu. When Quick Settings appears, select it to open the Quick Settings panel.
- Select Settings in the top right corner.
- Select Experimental.
- Select the toggle next to Air Link to turn this feature off.
To help keep your Wi-Fi connection secure, only share your Wi-Fi password with trusted devices and avoid using Air Link on a shared or untrusted Wi-Fi network.
Air Link includes settings to modify your Bitrate. To access these settings:
- Launch Air Link
- The Air Link panel inside of Dash will now display two options:
- Dynamic Bitrate
- Static Bitrate
- Adjust the slider to your desired bitrate.
- Confirm or cancel the changes.
If you select a bitrate that is too high and the app stops responding, your settings will revert after 10 seconds.